
Firstly we offer a free survey to determine what work wants doing and a free no obligation quotation
Step One :
The first stage of the floor sanding process is to secure any loose floorboards and replace any split or damaged boards or parquet blocks with reclaimed boards. At this stage, our customers may want a hearth removed and floor boards etc replaced.
Step 2 :
The 2nd stage is sanding your floor, we go through a series of 5 stages with the floor sanding, beginning with a course grit paper through medium grit, finishing with a fine sand paper to ensure a smooth finish. Gap filling will take place between the sanding stages.
Step 3:
(Optional) Staining can bring wonderful depth and warmth to the wood floor. Staining your floor can bring warm, rich tones to a room floor.If you visit your local DIY shop, a lot of the floor varnishes on offer have a colour included, such as teak or oak. The only real advantage of this is basically time and convenience during application. The disadvantage is that, with each coat, you apply, the colour changes and darkens. You are guessing what the final appearance will be. Most importantly, as a coloured varnish wears with time and traffic, the colour starts to be affected immediately. With our process, the seal is protecting both the wood and the colour stain, ensuring that the stain remains consistent for far, far longer. When we get to the staining stage, we can test patch different coloured stains to a small section of the floor for you to choose from. We simply sand the test patches off once you have decided and apply the colour of choice.
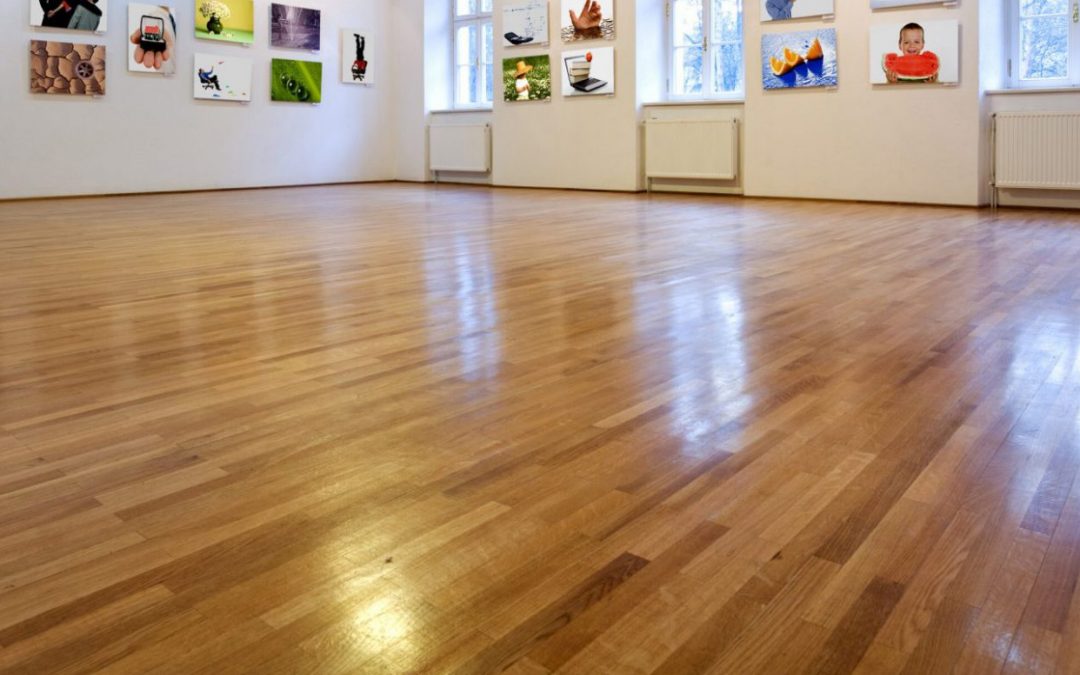
Step 4:
Sealing your floor, whether or not your floor has been stained it will now be ready for sealing, we apply hard-wearing durable sealants, in a variety of finishes, satin, matt and gloss. The first coat is applied then lightly sanded back using a very fine sanding paper to de nib the floor, a further two coats of sealant are then applied to complete the restoration.